
You know that moment when you take a bite of something so good, you just have to close your eyes and savor it? That’s exactly what happened the first time I tried Craves Carmelita Cookies. I was at a friend’s potluck, and one bite of these buttery, caramel-chocolate layered bars had me hooked. Right then, I knew I had to recreate them at home. After years of baking (and more than a few messy kitchen experiments), I finally nailed the perfect version. These cookies are everything you want—chewy oats, gooey caramel, melty chocolate—all in one irresistible treat. Trust me, your friends will beg for the recipe.
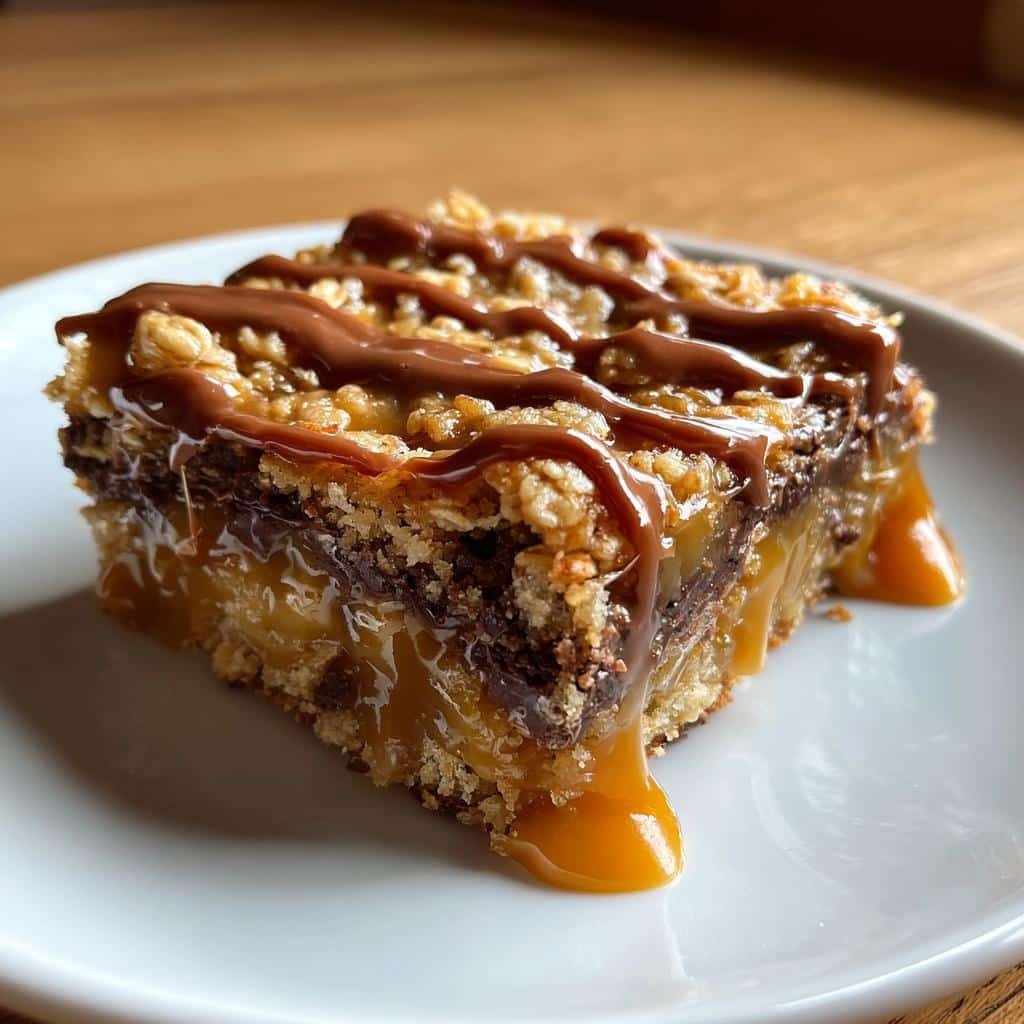
Table of Contents
Why You’ll Love Craves Carmelita Cookies
Let me tell you why these bars are my go-to dessert (and why they disappear every time I make them):
- So easy – Just mix, layer, and bake. No fancy techniques, I promise!
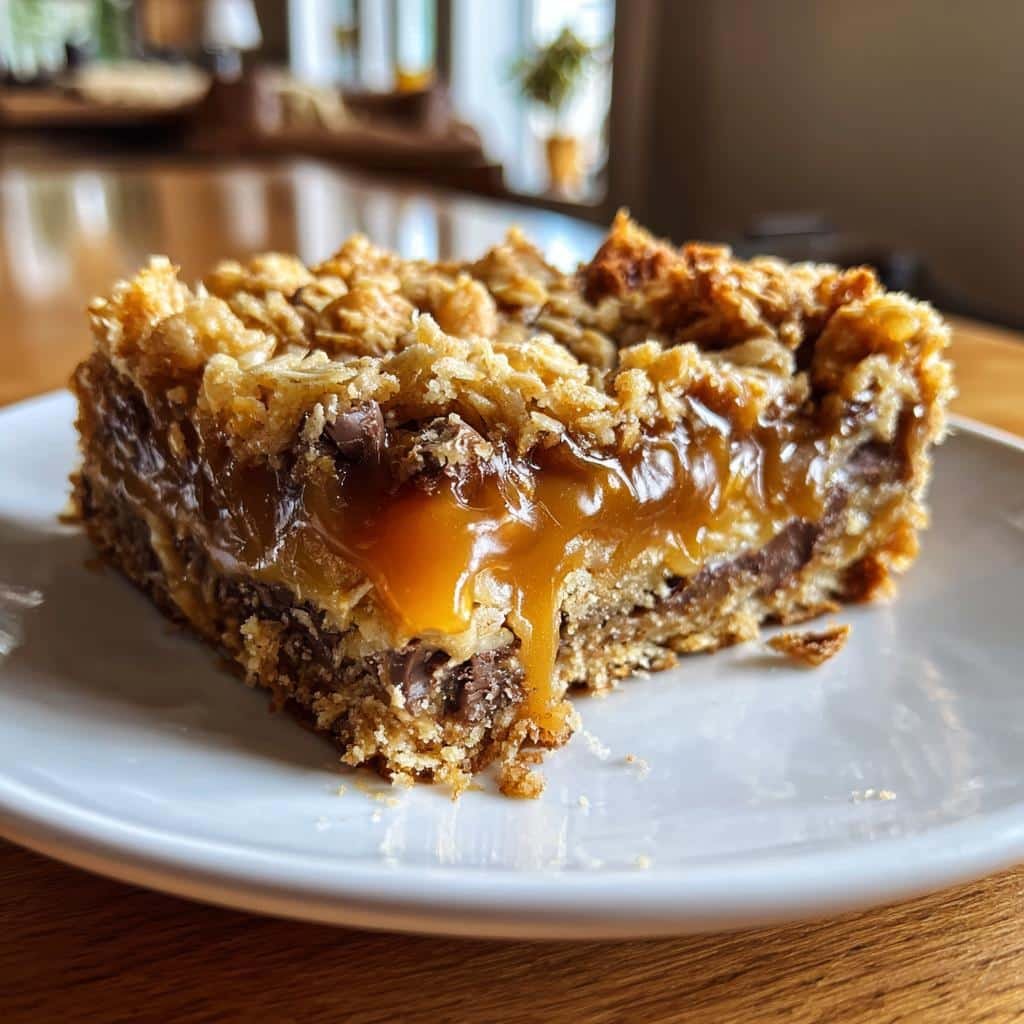
- That perfect texture – Crunchy oat crumble meets molten caramel and chocolate. Heaven.
- Rich flavor – Buttery, sweet, and just salty enough from the caramel.
- Crowd-pleaser – Kids and adults go crazy for these. Bake a double batch!
Seriously, they’re dangerously good. You’ve been warned.
Ingredients for Craves Carmelita Cookies
Here’s everything you’ll need to make these irresistible bars. I’ve learned the hard way—using the right ingredients makes all the difference:
- 2 cups all-purpose flour – Spoon and level it, don’t pack it!
- 2 cups rolled oats – Old-fashioned works best for that perfect chew.
- 1.5 cups packed brown sugar – Measure it packed tight—that rich molasses flavor is key.
- 1 tsp baking soda – Just a pinch to help the crumb stay tender.
- 1 cup melted butter – Unsalted, please! And let it cool slightly so it doesn’t cook the oats.
- 1 cup thick caramel sauce – The kind that holds its shape when you drizzle it. (Store-bought works—I won’t judge!)
- 1 cup chocolate chips – Semi-sweet balances the sweetness, but milk chocolate’s dreamy too.
Pro tip: Set everything out before you start. These come together fast once the butter’s melted!
Print
Irresistible Crave’s Carmelita Cookies Recipe in 20 Minutes
- Total Time: 45 minutes
- Yield: 24 bars 1x
- Diet: Vegetarian
Description
Delicious caramel and chocolate layered cookie bars.
Ingredients
- 2 cups all-purpose flour
- 2 cups rolled oats
- 1.5 cups brown sugar
- 1 tsp baking soda
- 1 cup butter, melted
- 1 cup caramel sauce
- 1 cup chocolate chips
Instructions
- Preheat oven to 350°F (175°C).
- Mix flour, oats, brown sugar, and baking soda in a bowl.
- Stir in melted butter until crumbly.
- Press half the mixture into a greased 9×13 inch pan.
- Bake for 10 minutes.
- Remove from oven and layer caramel sauce and chocolate chips.
- Sprinkle remaining crumb mixture on top.
- Bake for 15-20 minutes until golden brown.
- Cool completely before cutting into bars.
Notes
- Store in an airtight container for up to 5 days.
- Use thick caramel sauce for best results.
- Can substitute chocolate chips with dark chocolate chunks.
- Prep Time: 15 minutes
- Cook Time: 30 minutes
- Category: Dessert
- Method: Baked
- Cuisine: American
Nutrition
- Serving Size: 1 bar
- Calories: 220
- Sugar: 18g
- Sodium: 120mg
- Fat: 10g
- Saturated Fat: 6g
- Unsaturated Fat: 3g
- Trans Fat: 0g
- Carbohydrates: 30g
- Fiber: 2g
- Protein: 3g
- Cholesterol: 20mg
Keywords: caramelita cookies, caramel chocolate bars, dessert recipe
Equipment You’ll Need
No fancy gadgets required—just grab these basics from your kitchen:
- 9×13-inch baking pan – Metal works best for crispy edges!
- Mixing bowls – One big one for the crumb mixture.
- Spatula – To press that crumb layer nice and even.
- Measuring cups/spoons – Precision matters with baking.
That’s it! Now let’s get to the fun part—making those caramel-chocolate layers.
If these gooey Carmelita Cookies have you hooked, you’ll also want to try the viral TikTok Cookie Croissants—flaky, chocolatey, and just as irresistible.
How to Make Craves Carmelita Cookies
Okay, here’s where the magic happens! Don’t let the layers intimidate you—this recipe is way easier than it looks. Just follow these steps, and you’ll have perfect caramel-chocolate bars every time.
Preparing the Crumb Mixture
First, grab that big mixing bowl and toss in your flour, oats, brown sugar, and baking soda. Give it a good whisk—you want everything evenly distributed. Now, drizzle in that melted butter while stirring with a spatula. Here’s the key: keep mixing until it looks like wet sand with some pea-sized clumps. If it’s too dry, add another tablespoon of melted butter. Too wet? A sprinkle more oats. Perfect crumb texture means perfect layers later!
Layering the Caramel and Chocolate
Press half the crumb mixture into your greased pan—really pack it down so it holds together. Now, warm your caramel slightly (15 seconds in the microwave) so it spreads easily. Pour it over the crust, leaving a tiny border to prevent sticking. Sprinkle those chocolate chips like you’re decorating a masterpiece! Top with the rest of the crumb mix, but don’t press—just scatter it loosely so the caramel can bubble through.
Baking and Cooling
Bake for 15-20 minutes until the top is golden and the edges are crisp. Here’s where patience is tough but vital: let them cool COMPLETELY (at least 2 hours) before cutting. I know—the caramel’s calling your name, but slice too soon, and you’ll have a gooey mess. Worth the wait, I promise!
Tips for Perfect Craves Carmelita Cookies
After making these bars more times than I can count, here are my foolproof tricks for caramelita success:
- Thick caramel is non-negotiable – Runny sauce makes soggy layers. If yours is thin, simmer it for 5 minutes to thicken.
- Cooling time = magic time – Walk away! Letting them set ensures clean cuts (I put mine in the fridge if I’m impatient).
- Sharp knife + hot water – Wipe the blade between cuts for perfect squares. A pizza cutter works great too!
- Undermix the crumb – A few dry spots are fine—overmixing makes dense bars.
Follow these, and you’ll get bakery-worthy cookies every time!
Ingredient Substitutions & Variations
Listen, I know sometimes you’re missing an ingredient or want to mix things up—I’ve been there! Here are my favorite ways to tweak these caramelitas without losing that magic:
- Chocolate swap – Dark chocolate chunks add sophistication, or try butterscotch chips for a twist!
- Gluten-free? – Use 1-to-1 GF flour blend and certified GF oats. Works like a charm.
- Caramel hack – Out of sauce? Melt 30 soft caramels with 2 tbsp cream—just as dreamy.
- Nut lovers – Toss 1/2 cup chopped pecans into the crumb mix for crunch.
See? No stress—just delicious options. Baking should be fun, not rigid!
Storing and Reheating Craves Carmelita Cookies
Here’s the best part—these bars stay delicious for days! Store them in an airtight container at room temperature for up to 5 days (if they last that long). For that just-baked warmth, pop one in the microwave for 10 seconds. The chocolate gets melty, the caramel oozy—pure bliss all over again!
Nutritional Information
Just a quick heads up—nutrition facts can vary depending on your specific ingredients and brands. These bars are definitely a treat (hello, butter and caramel!), but hey, everything in moderation, right? Enjoy every gooey bite!
For even more crave-worthy ideas, explore our Pinterest boards where you’ll find endless inspiration for desserts and trending sweet treats.
FAQs About Craves Carmelita Cookies
Got questions? I’ve got answers! Here are the things people ask me most about these addictive bars:
Can I use store-bought caramel sauce?
Absolutely! I do it all the time—just pick a thick, high-quality brand. Look for “dessert topping” style rather than ice cream syrup.
How long do these really last?
About 5 days in an airtight container, but let’s be honest—they’ll vanish way before then! You can also freeze them for up to 3 months.
Why do mine turn out too crumbly?
Probably underbaked! The edges should be deep golden. And don’t skimp on pressing that bottom layer firmly.
Can I make them ahead?
Perfect for parties! Bake 1-2 days early—they actually taste better as the flavors meld. Just store at room temp.
Still puzzled? Ask away in the comments—I bake these weekly and love helping!
Share Your Experience
Made these caramelita cookies? I’d love to hear how they turned out! Leave a comment or rating below—your baking stories make my day.