
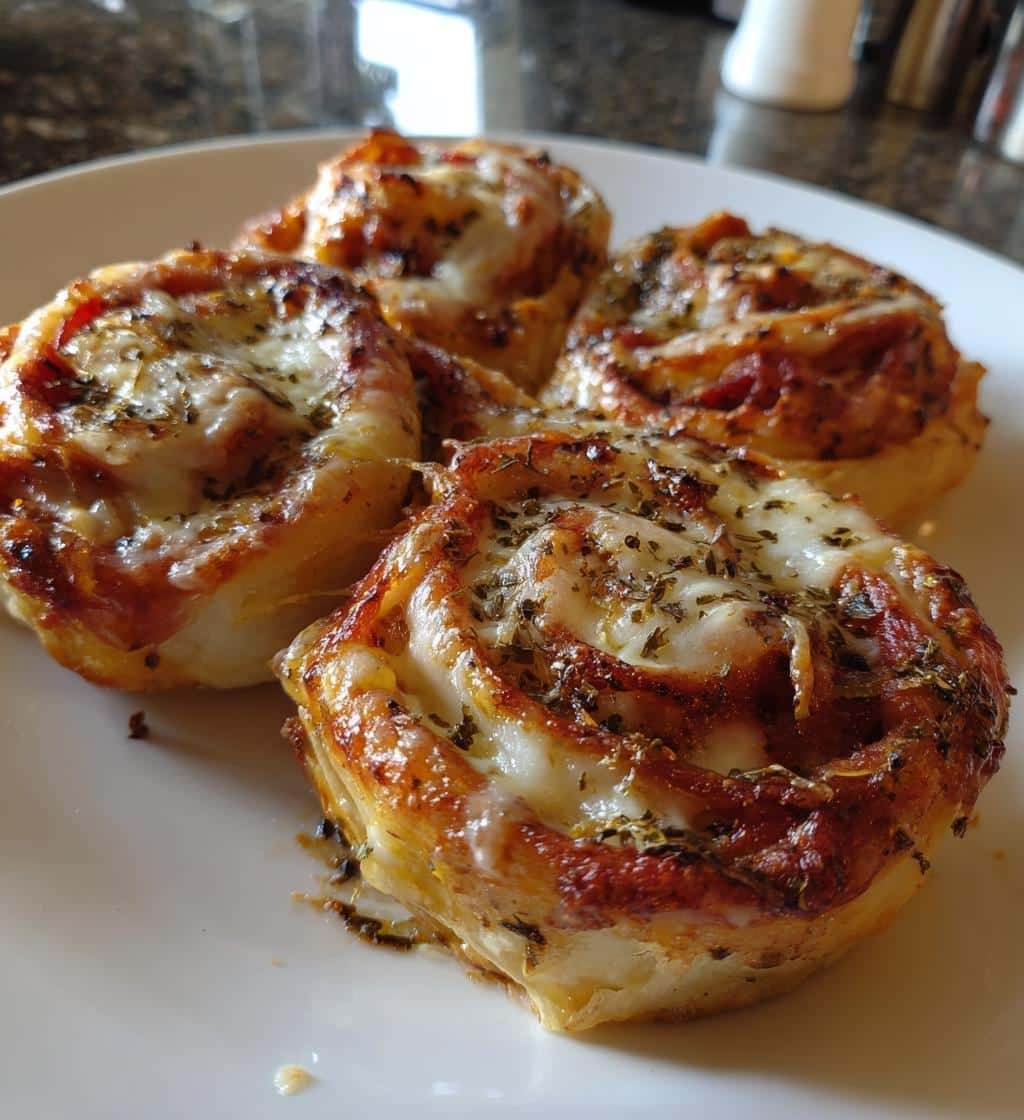
Oh my goodness, you have to try these cheesy baked Italian pizza roses! I first made them for a girls’ night last summer, and let me tell you – they disappeared faster than I could refill the wine glasses. These gorgeous little spirals look fancy, but they’re secretly one of the easiest appetizers you’ll ever make. Just imagine: pillowy pizza dough rolled up with melty mozzarella, nutty Parmesan, and my secret garlic-oregano blend, all baked until golden and crisp. The best part? When you pull them apart, the cheese stretches in that perfect, Instagram-worthy way. Trust me, once you see how simple these are (and how quickly they vanish from the plate), they’ll become your go-to party trick!
Why You’ll Love These Cheesy Baked Italian Pizza Roses
Let me count the ways these pizza roses will steal your heart (and your guests’ appetites!):
- They’re ridiculously easy – If you can roll dough and sprinkle cheese, you’ve got this. My 8-year-old niece helps me make them!
- That cheese pull though – When you break one open, the molten mozzarella stretches like a dream. Pure magic.
- Total crowd-pleasers – I’ve brought these to book club, baby showers, even a fancy cocktail party – they always get devoured first.
- So darn pretty – Those golden spiral layers make everyone think you slaved for hours. (Our little secret!)
Seriously, these might just become your new party superpower. If you are looking for other easy appetizers, check out these air fryer mozzarella chips recipe.
Ingredients for Cheesy Baked Italian Pizza Roses
Here’s everything you’ll need to make these gorgeous pizza roses – and yes, I’m picky about specific brands and types because it makes all the difference!
- 1 lb pizza dough – My favorite is the fresh dough from the grocery store bakery section (not the canned stuff!)
- 1 cup shredded mozzarella – Get the whole milk kind for maximum stretchiness
- 1/4 cup grated Parmesan – The real stuff in the green can, none of that “shaker cheese”
- 1 tsp dried oregano – Crush it between your fingers first to wake up the flavor
- 1 tsp garlic powder – Not garlic salt! We’ll add our own salt
- 1/4 cup tomato sauce – Use a thick pizza sauce, not watery marinara
- 2 tbsp olive oil – The good extra virgin kind for brushing
See? Nothing fancy – just quality ingredients that work magic together. Now let’s get rolling!
Equipment You’ll Need
Gather these trusty kitchen tools – chances are you’ve already got them!
- A sturdy rolling pin (mine’s marble – keeps the dough cool!)
- Large baking sheet (no need to grease it)
- Pastry brush (for that golden olive oil shine)
- Sharp knife (a pizza wheel works great too)
That’s it! No fancy gadgets required – just simple tools for cheesy perfection.
How to Make Cheesy Baked Italian Pizza Roses
Okay, let’s turn these ingredients into edible roses! Don’t worry – it’s way easier than it looks. Just follow these steps, and you’ll have everyone ooh-ing and aah-ing over your creation.
Step 1: Prepare the Dough
First, preheat that oven to 375°F (190°C) – we want it nice and hot when our pizza roses go in. Now grab your dough and roll it out on a lightly floured surface. Aim for a rectangle about 1/4 inch thick – not too thin or your roses will collapse, not too thick or they won’t cook through. Mine usually ends up about 12×16 inches. No need to be perfect here!
Step 2: Add Toppings
Here’s where the magic starts! Spread your tomato sauce evenly over the dough, leaving about a half-inch border all around (this helps with sealing later). Now sprinkle on that glorious mozzarella – I like to get it right to the edges. Follow with Parmesan, then sprinkle the oregano and garlic powder evenly. Pro tip: I sometimes add a pinch of red pepper flakes here for a little kick!
Step 3: Roll and Slice
Starting from one long side, roll that dough up tightly – like you’re rolling a yoga mat! The tighter you roll, the prettier your roses will be. Once it’s all rolled up, pinch the edge to seal. Now grab your sharpest knife and slice into 1-inch pieces – you should get about 12 beautiful spirals. Place them spiral-side up on your baking sheet about 2 inches apart (they’ll puff up!). Brush the tops lightly with olive oil for that golden glow.
Step 4: Bake to Perfection
Pop them in the oven for 20-25 minutes until they’re golden brown and the cheese is bubbling. Your kitchen will smell AMAZING! Let them cool just a minute before serving – that cheese is molten lava hot right out of the oven. Watch as everyone marvels at your gorgeous, cheesy pizza roses!
Tips for Perfect Cheesy Baked Italian Pizza Roses
After making dozens (okay, hundreds) of these pizza roses, I’ve learned all the tricks to guarantee perfection every time:
- Room temp dough is your friend – Let it sit out for 30 minutes before rolling. Cold dough fights you!
- Less is more with sauce – Too much makes the dough soggy. Just a thin layer does the trick.
- Roll tight, slice clean – Use dental floss for super clean cuts if your knife drags the cheese.
- Don’t skip the oil brush – That golden sheen isn’t just pretty – it gives the perfect crispy texture.
Follow these, and you’ll be a pizza rose pro in no time! For more baking tips, you might find this article on baking techniques helpful.
Variations for Cheesy Baked Italian Pizza Roses
Oh, the possibilities! Once you’ve mastered the basic recipe, try these fun twists:
- Pepperoni roses – Layer thin slices between the cheese for little meaty surprises
- Veggie delight – Add sautéed mushrooms, spinach, or roasted red peppers
- Spicy kick – Mix in some chopped jalapeños or crushed red pepper flakes
- Breakfast version – Swap tomato sauce for scrambled eggs and bacon bits
The best part? You can make a tray with different flavors – something for everyone!
Serving Suggestions
These pizza roses shine brightest when served warm – I always pop them on a wooden board with a bowl of warm marinara for dipping. They’re perfect alongside a crisp Caesar salad for lunch, or arranged on a platter with other finger foods for parties. My favorite way? Straight off the baking sheet while standing in the kitchen – no plate needed!
Storage & Reheating
These pizza roses keep beautifully in an airtight container for up to 2 days – if they last that long! To revive that fresh-baked magic, pop them in a 350°F oven for 5-7 minutes until crispy again. Microwaving works in a pinch, but trust me, the oven brings back that perfect texture!
Nutritional Information
Now, I’m no nutritionist, but I can tell you these pizza roses are pure joy in every bite! Keep in mind that nutritional values will dance around depending on the exact ingredients you use – especially with different cheese brands or dough types.
Each cheesy rose is roughly equivalent to a small slice of pizza – satisfying but not too heavy. The olive oil gives you those good fats, and hey, there’s calcium from all that glorious cheese! If you’re watching specific dietary needs, you can easily tweak the recipe with whole wheat dough or reduced-fat cheeses. For general information on the nutritional content of mozzarella, you can check out resources like the Nutritionix database.
Remember, homemade always lets you control what goes in – no mystery ingredients here! These are meant to be enjoyed in happy moderation (though good luck stopping at just one…).
FAQ About Cheesy Baked Italian Pizza Roses
I get asked these questions ALL the time – here are the answers straight from my pizza rose playbook!
Can I Make These Ahead of Time?
Absolutely! Roll and slice your pizza roses up to 24 hours ahead, then cover tightly with plastic wrap and refrigerate. When you’re ready, just pop them straight into the preheated oven (add 2-3 extra minutes to the baking time). The dough might puff up a bit less, but they’ll still taste amazing. I do this for parties all the time – total lifesaver!
Can I Use Different Cheeses?
Oh yes, cheese lovers unite! While mozzarella-Parmesan is classic, I’ve had great success with provolone (so melty!), fontina (extra rich), or even a sprinkle of asiago for sharpness. Just keep the total cheese amount about the same. My wildest experiment? Gouda with caramelized onions – mind-blowing! The only no-no? Super oily cheeses that might make your dough soggy.
Can I Freeze Pizza Roses?
You bet! Freeze unbaked rolls on a parchment-lined tray first (so they don’t stick together), then transfer to a freezer bag once solid. When the craving hits, bake from frozen at 375°F for about 28-30 minutes. They won’t be *quite* as perfect as fresh, but still way better than frozen pizza bites from the store! If you are interested in freezing other appetizers, you might like this air fryer pizza pockets recipe.
There you have it – all my pizza rose secrets! Now it’s your turn – whip up a batch and tag me with your gorgeous creations!
Print
Cheesy Baked Italian Pizza Roses Will Steal Your Heart in 20 Minutes
- Total Time: 40 mins
- Yield: 12 pizza roses 1x
- Diet: Vegetarian
Description
Delicious cheesy baked Italian pizza roses made with pizza dough, cheese, and herbs.
Ingredients
- 1 lb pizza dough
- 1 cup shredded mozzarella cheese
- 1/4 cup grated Parmesan cheese
- 1 tsp dried oregano
- 1 tsp garlic powder
- 1/4 cup tomato sauce
- 2 tbsp olive oil
Instructions
- Preheat oven to 375°F (190°C).
- Roll out pizza dough into a rectangle.
- Spread tomato sauce evenly over the dough.
- Sprinkle mozzarella, Parmesan, oregano, and garlic powder.
- Roll the dough tightly into a log.
- Cut into 1-inch slices and place on a baking sheet.
- Brush with olive oil.
- Bake for 20-25 minutes until golden brown.
Notes
- Use fresh dough for best results.
- Add pepperoni or veggies for extra flavor.
- Serve warm.
- Prep Time: 15 mins
- Cook Time: 25 mins
- Category: Appetizer
- Method: Baking
- Cuisine: Italian
Nutrition
- Serving Size: 1 pizza rose
- Calories: 120
- Sugar: 1g
- Sodium: 200mg
- Fat: 5g
- Saturated Fat: 2g
- Unsaturated Fat: 3g
- Trans Fat: 0g
- Carbohydrates: 15g
- Fiber: 1g
- Protein: 4g
- Cholesterol: 10mg
Keywords: cheesy baked Italian pizza roses, pizza roses, Italian appetizer