
Oh my gosh, you have to try these cheesy garlic butter rollups! They’re my secret weapon for last-minute parties and those “I need something delicious NOW” moments. I first made them when my sister showed up unannounced with three hungry friends – talk about a lifesaver! In less than 30 minutes, we had golden, garlicky, cheesy bites disappearing faster than I could plate them.
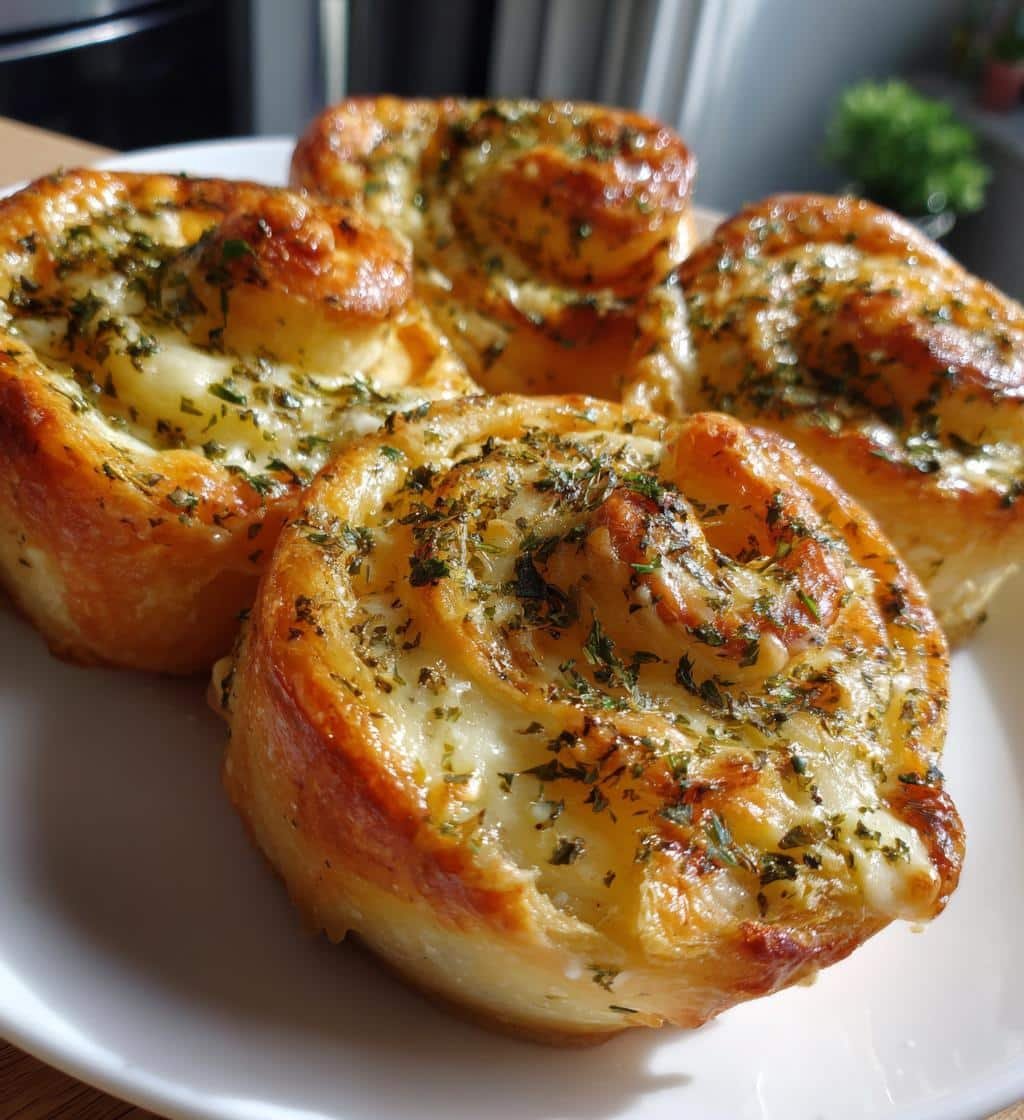
What makes this cheesy garlic butter rollups recipe so special? It’s ridiculously easy with just a handful of ingredients you probably have already. That canned crescent dough transforms into something magical when you brush it with garlic butter and roll it up with melty mozzarella. The smell alone will have everyone hovering around your oven!
These little spirals of joy have become my go-to for everything from game nights to book club meetings. Last Christmas, my nephew actually hid the plate from other guests – that’s how good they are! The best part? You can whip them up faster than it takes to decide what to order for delivery.
Why You’ll Love This Cheesy Garlic Butter Rollups Recipe
Let me count the ways these little beauties will become your new kitchen staple:
- Faster than takeout: From fridge to table in under 30 minutes – perfect for surprise guests or late-night cravings
- Pantry magic: Just 6 simple ingredients, and I bet you’ve got most in your kitchen right now
- Crowd pleaser: That irresistible combo of garlic, butter and cheese disappears faster than cookies at a bake sale
- Endless possibilities: Serve them as appetizers, snacks, or even alongside pasta – they’re always a hit
Trust me, once you smell that garlic butter melting into golden crescents, you’ll understand why this recipe never fails me!
Ingredients for Cheesy Garlic Butter Rollups
Here’s everything you’ll need to make these irresistible bites – I promise it’s nothing fancy! The magic is in how simple ingredients transform:
- 1 can refrigerated crescent roll dough (8 oz) – unrolled and separated into 8 perfect triangles (don’t worry if they tear a little – they’ll still taste amazing!)
- 4 tablespoons butter – melted until just liquid (I usually zap it for 20 seconds in the microwave)
- 2 cloves garlic – minced super fine (or use 1 teaspoon of the jarred stuff in a pinch)
- 1 cup shredded mozzarella cheese – the pre-shredded kind works, but freshly grated melts even better
- ¼ cup grated parmesan cheese – the powdery stuff in the green can is totally fine here
- 1 teaspoon dried parsley – mostly for that pretty green speckle effect
See? Told you it was simple! Now let’s turn these basics into something magical. If you are looking for other quick appetizer ideas, check out this air fryer mozzarella chips recipe.
Equipment You’ll Need
Grab these trusty kitchen tools – nothing fancy required:
- A standard baking sheet (no need to grease it!)
- A pastry brush for that garlic butter goodness
- One small mixing bowl for your butter-garlic magic
That’s it! Now let’s get rolling – literally.
How to Make Cheesy Garlic Butter Rollups
Okay, let’s turn these simple ingredients into golden pockets of joy! The process is so easy you’ll have it memorized after one try. Just follow these steps and you’ll be snacking in no time.
Step 1: Prepare the Garlic Butter Mixture
First, preheat your oven to 375°F (190°C) – this gives it time to get nice and hot while you prep. Now, melt that butter (I just microwave it in a small bowl for about 20 seconds). Stir in your minced garlic – oh wow, that smell! It should be fragrant enough to make your mouth water instantly. Set this golden elixir aside while you work with the dough.
Step 2: Assemble the Rollups
Unroll the crescent dough and separate those perfect little triangles. Brush each one generously with your garlic butter mixture – don’t be shy! Then sprinkle with both cheeses, leaving about ½ inch at the pointy end clean. Here’s the trick: roll them up starting from the wide end toward the point, tucking the cheese in as you go. Don’t worry if they’re not perfect – rustic is charming! For more information on the benefits of garlic, you can check out this reputable health resource.
Step 3: Bake to Perfection
Place your rollups on an ungreased baking sheet about 2 inches apart. Brush the tops with any remaining garlic butter and sprinkle with parsley. Pop them in the oven for 12-15 minutes until they’re gloriously golden brown. The cheese will be bubbling at the edges – that’s when you know they’re ready! Let them cool just enough so you don’t burn your tongue (though I never wait long enough). For another great appetizer, try these air fryer cranberry brie bites recipe.
Tips for Perfect Cheesy Garlic Butter Rollups
After making these dozens of times (okay, maybe hundreds), I’ve learned a few tricks to guarantee perfect rollups every time:
- Cheese control: Don’t overstuff! Too much cheese makes them burst open while baking – about 1 tablespoon per triangle is perfect
- Garlic freshness: Fresh minced garlic makes all the difference – that jarred stuff just doesn’t give the same punch
- Timing is everything: Serve these babies immediately – they’re at their absolute best piping hot from the oven
- Roll tight: Start rolling from the wide end and keep it snug – loose rolls mean cheese escapes during baking
Follow these simple tips and you’ll have everyone begging for your secret recipe!
Variations for Your Cheesy Garlic Butter Rollups
Once you’ve mastered the basic recipe, try these fun twists to keep things exciting:
- Spicy kick: Add a pinch of red pepper flakes to the garlic butter – just enough to make your taste buds tingle!
- Herb garden: Mix in fresh chopped basil or oregano with the cheeses for an Italian flair
- Everything bagel: Sprinkle the tops with everything bagel seasoning before baking – trust me on this one!
- Pizza night: Add a teaspoon of pizza seasoning and some mini pepperoni slices for kid-approved flavor
The possibilities are endless – that’s what makes this recipe so much fun to play with! If you enjoy experimenting with flavors, you might also like this air fryer bacon wrapped dates recipe.
Serving Suggestions
Oh, the ways you can serve these cheesy delights! My absolute favorite is with warm marinara for dipping – it’s like instant garlic bread meets pizza. For parties, I’ll pair them with a crisp green salad to balance the richness. They’re also amazing alongside soup instead of ers – dunk right into that tomato basil goodness!
Storage and Reheating
Here’s the deal – these cheesy garlic butter rollups are best fresh, but if you somehow have leftovers (unlikely!), store them in an airtight container in the fridge for 2-3 days. When you’re ready for round two, pop them in a 350°F oven for 5-7 minutes to bring back that perfect crispiness. Microwaving works in a pinch, but they’ll lose that golden crunch – and let’s be honest, the crunch is half the magic!
Nutritional Information
Here’s the breakdown per rollup (remember, these values are estimates and may vary based on your specific ingredients):
- Calories: 180
- Fat: 12g
- Carbs: 13g
- Protein: 5g
Nutritional values are estimates and vary by ingredients used.
Frequently Asked Questions
I get asked about these cheesy garlic butter rollups ALL the time – here are the answers to the most common questions:
Can I Freeze Cheesy Garlic Butter Rollups?
Absolutely! Freeze them after baking and cooling completely. Just pop them in a freezer bag with parchment between layers. When cravings hit, reheat frozen rollups at 350°F for 10-12 minutes – they’ll taste almost fresh-baked! Pro tip: Freeze before baking if you want to impress guests with “just-made” appetizers anytime.
What Cheese Substitutions Work?
While mozzarella is classic, feel free to experiment! Sharp cheddar gives a nice tang, provolone melts beautifully, and pepper jack adds a kick. For fancy nights, try gruyère or fontina – just keep the total cheese amount about the same. My weirdest (but delicious) combo? Half mozzarella, half cream cheese for extra richness!
Can I Use Puff Pastry Instead?
You bet! Puff pastry makes them extra flaky and fancy. Just thaw a sheet, cut into rectangles, and follow the same steps. They’ll need a few extra minutes in the oven – watch for that golden perfection around 18-20 minutes.
Did you make these cheesy garlic butter rollups? I’d love to hear how they turned out! Leave a comment below with your favorite variations or any tips you discovered – your ideas might just become someone else’s new favorite twist on this recipe!
Print
Irresistible Cheesy Garlic Butter Rollups Recipe in 30 Minutes
- Total Time: 25 minutes
- Yield: 8 rollups 1x
- Diet: Vegetarian
Description
A quick and easy recipe for cheesy garlic butter rollups, perfect as an appetizer or snack.
Ingredients
- 1 can refrigerated crescent roll dough
- 4 tablespoons butter, melted
- 2 cloves garlic, minced
- 1 cup shredded mozzarella cheese
- 1/4 cup grated parmesan cheese
- 1 teaspoon dried parsley
Instructions
- Preheat oven to 375°F (190°C).
- Unroll crescent dough and separate into triangles.
- Mix melted butter with minced garlic.
- Brush garlic butter mixture over each dough triangle.
- Sprinkle mozzarella and parmesan cheese over buttered dough.
- Roll up each triangle from the wide end to the point.
- Place rollups on baking sheet and brush with remaining garlic butter.
- Sprinkle with dried parsley.
- Bake for 12-15 minutes until golden brown.
Notes
- Serve warm for best flavor.
- You can add a pinch of red pepper flakes for heat.
- These keep well in the fridge for 2-3 days.
- Prep Time: 10 minutes
- Cook Time: 15 minutes
- Category: Appetizer
- Method: Baking
- Cuisine: American
Nutrition
- Serving Size: 1 rollup
- Calories: 180
- Sugar: 2g
- Sodium: 320mg
- Fat: 12g
- Saturated Fat: 6g
- Unsaturated Fat: 4g
- Trans Fat: 0g
- Carbohydrates: 13g
- Fiber: 0g
- Protein: 5g
- Cholesterol: 20mg
Keywords: cheesy garlic butter rollups, easy appetizer, quick snack recipe