
I almost didn’t believe it the first time I tried making Air Fryer 2-Ingredient Bagels – no yeast, no boiling, and ready in minutes! My kitchen smelled like a New York deli before I even finished my coffee. This recipe is my secret weapon when craving fresh bagels without the fuss. The magic happens when self-rising flour meets Greek yogurt, creating dough so easy to handle even my kids can shape perfect little rings. Forget about waiting for dough to rise or dealing with messy boiling water – these golden beauties come together faster than you can say “brunch is served!”

Table of Contents
Ingredients for Air Fryer 2-Ingredient Bagels
Okay, here’s the beautiful part – you literally only need two things to make these magical bagels happen! But let me tell you exactly what to grab, because I’ve learned the hard way that small details make all the difference.
- 1 cup self-rising flour (scoop and level it – don’t pack it down! That cup should be nicely filled but not overflowing.)
- 1 cup Greek yogurt (I usually use plain non-fat because that’s what’s in my fridge, but full-fat will give you an even richer, slightly chewier texture if you’re feeling indulgent)
See? I told you this was simple! But wait – if you’re like me and sometimes find your yogurt containers mysteriously half-empty (kids, I’m looking at you), here’s my pro tip: any plain Greek yogurt works, just make sure it’s not the flavored kind unless you want berry bagels (which… actually doesn’t sound terrible now that I think about it).
The flour matters too – it must be self-rising. All-purpose flour won’t give you that perfect rise. If you only have regular flour, don’t panic! For every cup, add 1½ teaspoons baking powder and ¼ teaspoon salt. Mix it well before adding your yogurt.
How to Make Air Fryer 2-Ingredient Bagels
Now for the fun part – let’s turn those two simple ingredients into golden, chewy bagels! I love how quickly this comes together. It’s like kitchen magic every single time.
Mixing and Shaping the Dough
First, grab a big mixing bowl – no fancy stand mixer needed here, just some good old-fashioned elbow grease! Dump in your self-rising flour and Greek yogurt. At first it’ll look too dry, but trust the process. I like to use a fork to start combining them, then get in there with my hands once it starts coming together.
Here’s my secret: knead that dough for about 2-3 minutes right in the bowl. You’ll feel it transform from shaggy to smooth and slightly sticky. If it’s sticking to your hands too much, dust them lightly with flour. When the dough feels like a soft little pillow, that’s when you know it’s ready.
Divide it into 4 equal balls (I eyeball it, but if you’re type-A like my sister, you can weigh them). Poke a hole in the center of each and stretch gently to form that classic bagel shape. Don’t stress about perfection – rustic homemade bagels have charm!
Air Frying the Bagels
Here’s where the air fryer works its crispy magic! Preheat to 350°F (175°C) for 3 minutes while you’re shaping the dough. This little warm-up makes all the difference for even cooking.
Arrange your bagels in the basket with space between them – they’ll puff up! I can usually fit 2-3 at a time in my 6-quart air fryer. Cook for 10-12 minutes total, flipping them halfway through. You’ll know they’re done when they’re beautifully golden and sound hollow when tapped.
Pro tip: All air fryers run a bit differently, so peek at the 8-minute mark your first time. Some might need less time, especially if you’re making smaller bagels. And resist the urge to crowd them – they need that air circulation to get perfectly crisp!
Print
Air Fryer 2-Ingredient Bagel Magic – Perfect in 17 Minutes!
- Total Time: 17 minutes
- Yield: 4 bagels 1x
- Diet: Low Fat
Description
Make quick and easy bagels with just two ingredients using your air fryer. No yeast, no boiling, and ready in minutes.
Ingredients
- 1 cup self-rising flour
- 1 cup Greek yogurt (plain, non-fat)
Instructions
- Mix flour and yogurt in a bowl until a dough forms.
- Knead the dough for 2-3 minutes until smooth.
- Divide the dough into 4 equal parts and shape into bagels.
- Preheat air fryer to 350°F (175°C) for 3 minutes.
- Place bagels in the air fryer basket, leaving space between them.
- Cook for 10-12 minutes, flipping halfway, until golden brown.
- Let cool slightly before serving.
Notes
- Use full-fat yogurt for a richer texture.
- Add toppings like sesame seeds or everything bagel seasoning before cooking.
- Store leftovers in an airtight container for up to 2 days.
- Prep Time: 5 minutes
- Cook Time: 12 minutes
- Category: Bread
- Method: Air Fry
- Cuisine: American
Nutrition
- Serving Size: 1 bagel
- Calories: 150
- Sugar: 2g
- Sodium: 300mg
- Fat: 1g
- Saturated Fat: 0.5g
- Unsaturated Fat: 0.5g
- Trans Fat: 0g
- Carbohydrates: 28g
- Fiber: 1g
- Protein: 6g
- Cholesterol: 5mg
Keywords: air fryer bagels, 2-ingredient bagels, easy bagel recipe
Why You’ll Love These Air Fryer 2-Ingredient Bagels
Let me count the ways these little miracles will become your new breakfast obsession! Once you try them, you’ll wonder how you ever survived without this trick in your back pocket.
- No yeast, no boiling, no problem! Seriously, skip the fuss of traditional bagel-making. No waiting for dough to rise or dealing with pots of boiling water (and the inevitable mess that comes with it). This recipe is downright therapeutic in its simplicity.
- Ready in 17 minutes flat from bowl to basket. I’ve timed it – that’s faster than driving to the bagel shop! Perfect for those mornings when you wake up craving something fresh and homemade but also need to be out the door yesterday.
- Endlessly customizable – go classic with everything seasoning, sweet with cinnamon sugar, or keep it simple with just a brush of melted butter. My kids love making “design-your-own-bagel” stations with small bowls of toppings.
- Healthier than store-bought with way fewer preservatives and additives. You control exactly what goes in – and with just two main ingredients, there’s no mystery about what you’re eating. The protein-packed Greek yogurt gives these staying power too!
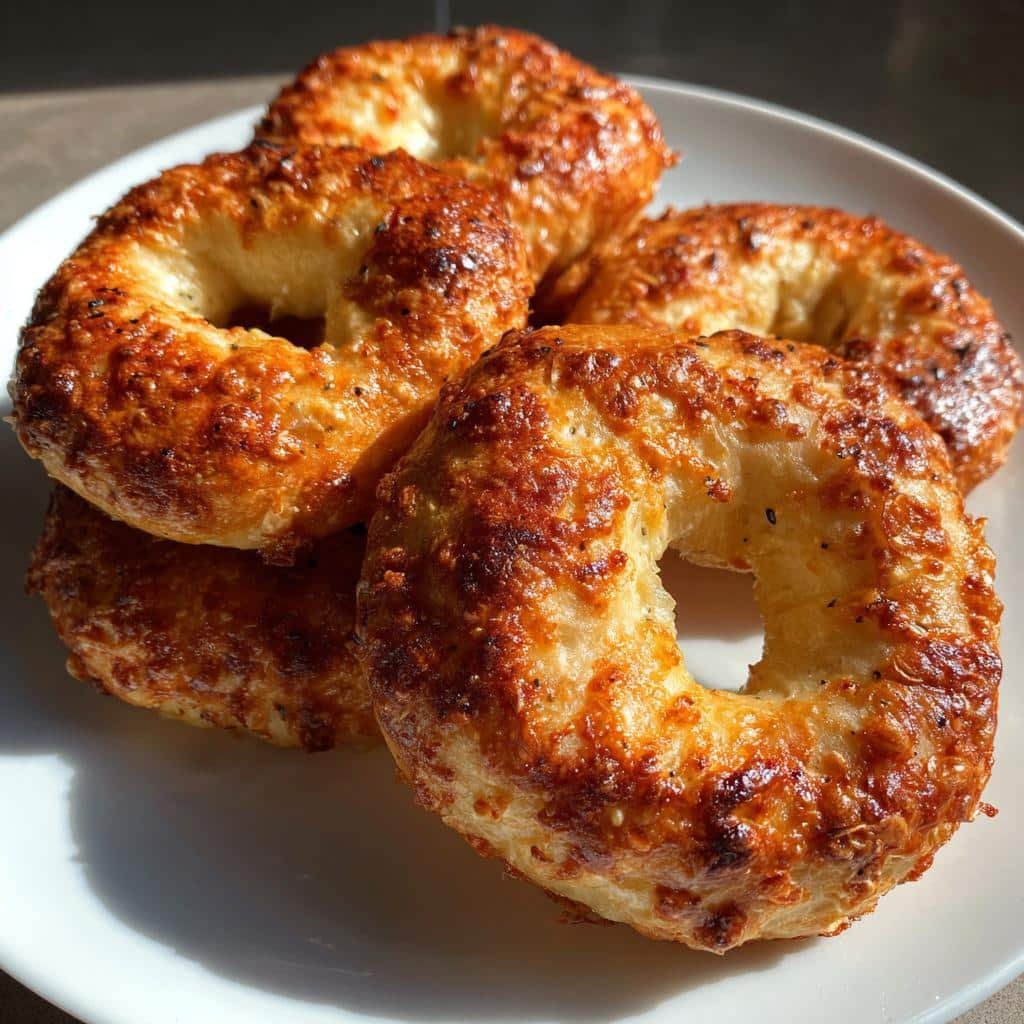
- Shockingly good texture – crispy outside, chewy inside, just like proper bagels should be. I’ve served these to New Yorkers who couldn’t believe they came from an air fryer with two ingredients.
Honestly, the only downside? You might never buy bagels again – and your family will demand these weekly. (Ask me how I know!)
Love simple bagel recipes? Take it up a notch with these 3-Ingredient Protein Bagels — a high-protein, easy breakfast that pairs perfectly with your favorite toppings.
Tips for Perfect Air Fryer Bagels
After making dozens (okay, maybe hundreds) of these bagels, I’ve picked up some tricks that’ll take your air fryer bagel game from good to “how did you make these?!” Here’s everything I wish I knew when I started:
Yogurt matters more than you think – While non-fat Greek yogurt works fine, full-fat yogurt gives you that irresistible bakery-style chew. The extra richness makes the dough easier to handle too – less sticking to your fingers! If your dough feels too sticky, just dust your hands lightly with flour as you knead.
Timing is everything with toppings – Want sesame seeds or everything bagel seasoning? Brush your shaped bagels with an egg wash or a tiny bit of water first, then sprinkle toppings generously before air frying. They’ll stick perfectly as the bagels cook. (Pro tip: do this right after shaping while the dough is still slightly tacky!)
Get to know your air fryer’s personality – These little machines all have their quirks! Mine runs hot, so I always check at 8 minutes to prevent over-browning. If your air fryer tends to be aggressive too, try lowering the temp to 325°F after the first 5 minutes. The bagels should be golden with a crisp crust that sounds hollow when tapped.
Space is your friend – I know it’s tempting to cram them all in at once, but overcrowding leads to sad, steamed bagels instead of crisp ones. Give each bagel about an inch of breathing room – you might need to cook in batches, but it’s worth the extra few minutes.
The poke test never lies – Not sure if they’re done? Gently press a bagel – it should spring back when fully cooked. If your fingerprint stays indented, give it another minute or two. And don’t skip the flip! That halfway turn ensures even browning on both sides.
One last thing – let them cool for at least 5 minutes before diving in. I know, the smell is torture, but this helps the texture set up perfectly. (Confession: I’ve burned my mouth more than once testing this theory…)
Variations for Air Fryer 2-Ingredient Bagels
Here’s where these magical little bagels really shine – you can dress them up a million different ways! I love experimenting with flavors depending on my mood (or what’s about to expire in my spice drawer). Here are my favorite ways to jazz them up:
Everything but the bagel – My go-to when I want that deli-style experience. Right after shaping, brush the bagels with a tiny bit of water or beaten egg and sprinkle generously with everything bagel seasoning. The garlic, onion, and sesame flavors get toasted to perfection in the air fryer. Bonus: your kitchen will smell amazing!
Cinnamon sugar comfort – For sweet mornings, mix 1 tablespoon sugar with ½ teaspoon cinnamon. After air frying, brush the warm bagels with melted butter and dunk them in the mixture. It’s like a doughnut and bagel had the most delicious baby. (My kids call these “fancy toast” and demand them for weekend breakfasts.)
Cheesy herb magic – Knead ¼ cup shredded cheddar and 1 teaspoon dried herbs (I love Italian blend or just rosemary) right into the dough before shaping. The cheese melts into little pockets of savory goodness. These are incredible with soup instead of rolls!
Sesame or poppy seed classic – Sometimes simple is best. A heavy hand with sesame or poppy seeds gives that nostalgic deli flavor. Pro tip: toast the seeds in a dry pan first for extra nuttiness – just let them cool before sprinkling.
Last week I got wild and mixed za’atar into the dough – life-changing with labneh and olive oil! The beauty is you can’t mess this up. Raid your spice cabinet and have fun. Just remember: add dry seasonings before cooking, and save wet toppings (like jam or cream cheese) for after they’re done.
Storing and Reheating Air Fryer Bagels
Okay, confession time – these bagels rarely last long enough in my house to need storing! But when they do (or when I’m smart enough to make a double batch), here’s how I keep them tasting fresh-as-baked. First rule: let them cool completely before storing. I know it’s tempting to bag them up warm, but that steam turns into soggy sadness real quick.
For short-term storage (because let’s be real – two days is about all the willpower I have), pop them in an airtight container at room temperature. No fridge needed! The Greek yogurt gives these bagels surprising staying power. If you must refrigerate, they’ll keep for about 4 days, but they’ll dry out faster – so only do this if your kitchen runs super warm.
Now for the magic trick – reheating! The air fryer isn’t just for cooking; it’s the absolute best way to bring these bagels back to life. Just 2-3 minutes at 350°F (175°C) makes them taste freshly baked again. No need to thaw if they’re room temp – straight in they go! If you refrigerated them, add an extra minute. Watch closely though – they go from perfectly crisp to overdone in seconds.
Pro tip: If you want to freeze them (future you will thank present you!), wrap each cooled bagel individually in plastic wrap, then tuck them all into a freezer bag. They’ll keep for about a month. To reheat, let them thaw at room temp for 15 minutes first, then air fry as usual. The texture stays shockingly good!
One last thing – these make the BEST quick breakfast sandwiches when reheated! Split them with a serrated knife after warming (they’re easier to cut when slightly crisp), then load them up with eggs, cheese, or whatever your morning heart desires. The air fryer gives them just enough structure to hold up to all your favorite toppings without getting mushy.
Air Fryer 2-Ingredient Bagels Nutritional Info
Now, I’m no nutritionist, but after years of making these bagels (and eating way too many of them myself), I’ve got a pretty good handle on what’s in them. Full transparency – these numbers are estimates based on standard ingredients, but your exact counts might vary slightly depending on your yogurt’s brand or if you add toppings. Here’s the breakdown per bagel (and trust me, you’ll want to eat more than one!):
Per Serving (1 bagel):
- Calories: 150
- Carbohydrates: 28g
- Protein: 6g (thank you, Greek yogurt!)
- Sugar: 2g
- Sodium: 300mg
- Fat: 1g
- Saturated Fat: 0.5g
Now before you start doing math in your head, remember – these are WAY lighter than your average bakery bagel (which can pack 300+ calories before toppings!). The Greek yogurt gives these a protein boost that’ll keep you full longer than regular bread too. I love that my kids are getting actual nutrition from their “treat” breakfast!
One quick note: If you use full-fat yogurt instead of non-fat, expect about 20 extra calories per bagel and a smidge more fat – but oh, that creamy texture is so worth it in my book. And obviously, if you go wild with toppings like cream cheese or butter, those numbers will change. But hey, life’s too short not to enjoy your bagel exactly how you like it!
Looking for more quick and clever kitchen hacks? Explore endless air fryer creations on Pinterest and keep your snack game strong.
Frequently Asked Questions
After sharing this recipe with friends (and random people in the grocery store who asked why I was buying so much Greek yogurt), I’ve gotten the same few questions over and over. Here’s everything you might be wondering before making your first batch!
Can I use regular flour instead of self-rising?
Ah, the million-dollar question! Technically yes, but you’ll need to add 1½ teaspoons baking powder and ¼ teaspoon salt per cup of all-purpose flour. Mix those dry ingredients well before adding yogurt. That said, self-rising flour gives the best texture – it’s worth grabbing a bag if you plan to make these regularly (which you will!).
Why is my dough so sticky?
Don’t panic! This usually means your yogurt was extra wet or you packed your flour too lightly. Dust your hands and work surface with a bit more flour while kneading – just add it gradually until the dough becomes smooth and slightly tacky but not sticking to everything. It should feel like a soft playdough when it’s right.
Can I make these without an air fryer?
Absolutely! Bake them at 375°F (190°C) on a parchment-lined sheet for 20-25 minutes, flipping halfway. They won’t get quite as crispy, but still delicious. I’ve even cooked them in a waffle iron when desperate (weirdly good!).
What if I don’t have Greek yogurt?
Regular plain yogurt works in a pinch, but you’ll need to reduce the liquid. Start with ¾ cup and add more as needed to form dough. Greek yogurt’s thickness is key – I’ve had best results straining regular yogurt through cheesecloth for 30 minutes first.
Why are my bagels dense instead of fluffy?
Usually means you overworked the dough or didn’t preheat the air fryer. Knead just until smooth (2-3 minutes max), and always let your air fryer heat for those crucial 3 minutes. Also check your self-rising flour isn’t expired – old baking powder won’t give proper rise.
Alright, now it’s your turn to join the 2-ingredient bagel revolution! I’d love to hear how your air fryer adventures go – did you stick with classic plain or go wild with crazy toppings? Snap a photo of your golden beauties and tag me so I can cheer you on! And if you’ve discovered any brilliant twists (blueberry yogurt bagels? spicy jalapeño?), spill the details in the comments below. Your creativity might just inspire my next batch! Happy air frying, friends – may your mornings be carb-filled and your bagels perfectly crisp.