
There’s something magical about turning fresh summer corn into dessert—trust me, once you taste homemade corn ice cream, you’ll never look at corn the same way again! I first fell in love with this sweet, creamy treat during a farm stand visit years ago when the farmer’s wife handed me a sample spoonful. “Try this,” she winked, “it’s like summer in a bowl.” One bite of that golden, velvety ice cream with its delicate corn flavor had me hooked.
After dozens of batches (and many happy taste-testers), I’ve perfected this recipe that balances corn’s natural sweetness with rich creaminess. Unlike store-bought versions, you can actually taste the fresh corn—not just sugar! The secret? Using plenty of real corn kernels and taking time to extract their milky goodness. Whether you’re an ice cream pro or just getting started, this recipe will surprise you with how simple yet special it is. Just wait until you see people’s faces light up when you tell them what flavor they’re eating!
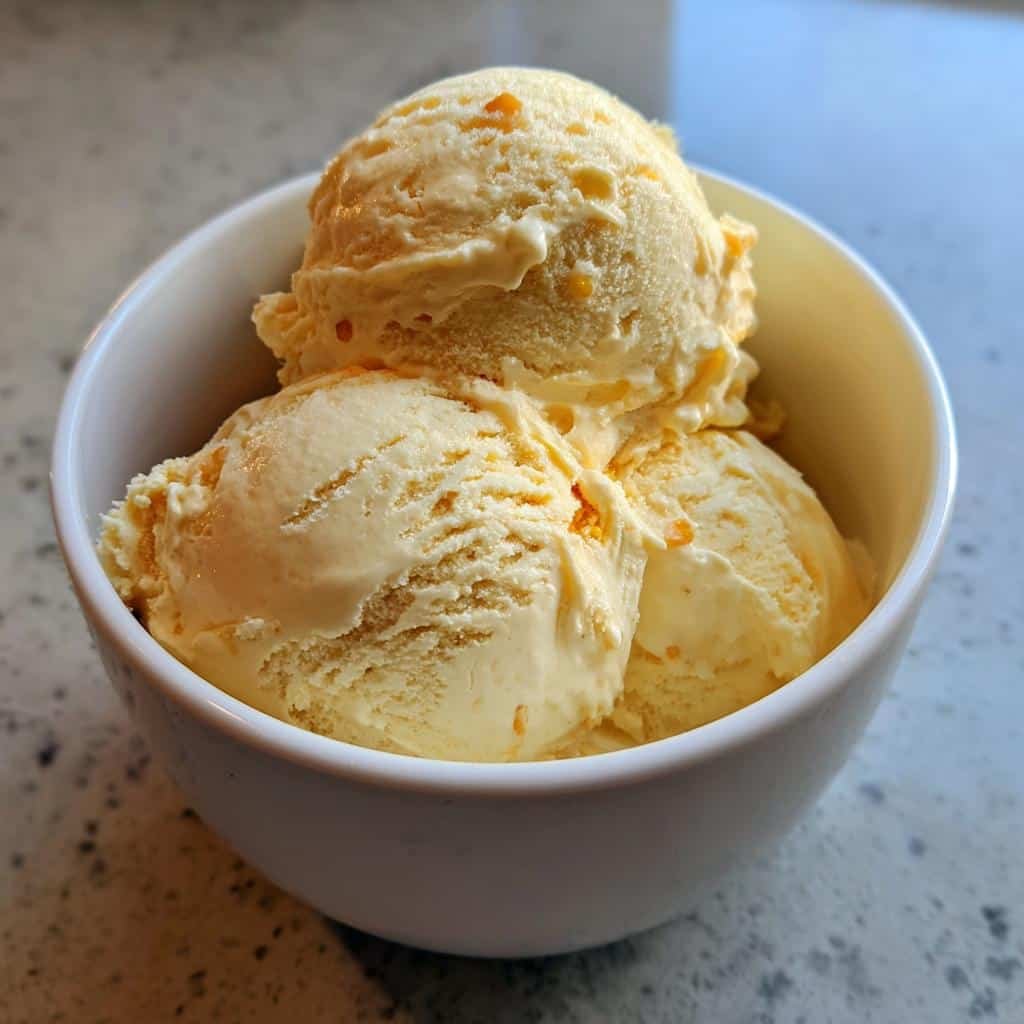
Table of Contents
Why You’ll Love This Corn Ice Cream Recipe
Let me tell you why this corn ice cream recipe has become my go-to summer dessert (and why you’ll be making it on repeat):
- Unbelievably creamy texture – The combination of fresh corn and rich cream creates a velvety smoothness that’ll have you sneaking spoonfuls straight from the container
- Naturally sweet – Ripe summer corn lends its subtle sweetness so you can use less sugar than typical ice creams
- Surprisingly simple – No fancy techniques required – just blend, strain, and churn like regular ice cream
- Conversation starter – Watch friends’ curious expressions turn to delight when they realize it’s corn ice cream they’re devouring
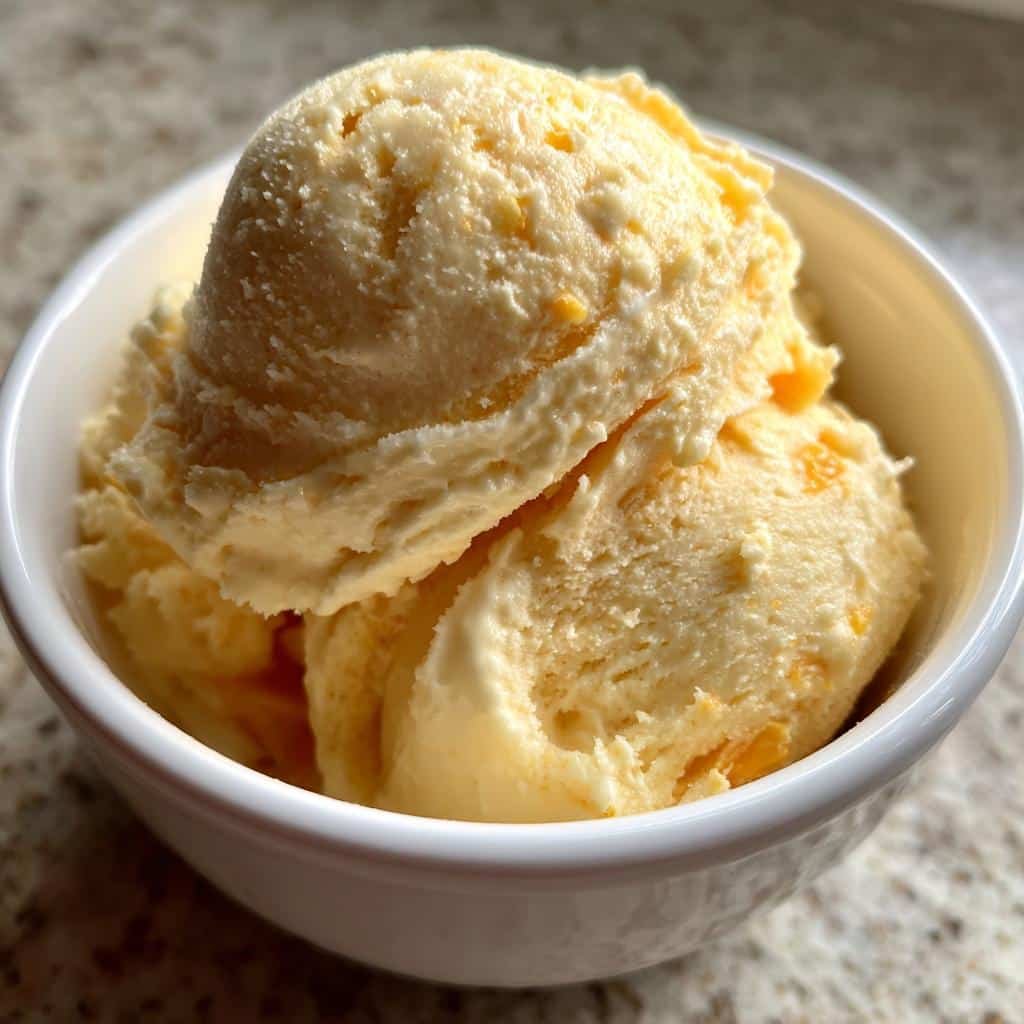
- Summer in every bite – That golden color and fresh corn flavor capture the essence of peak-season produce
I promise, one taste of this unique frozen treat, and you’ll understand why I can’t stop making it all season long!
Ingredients for Corn Ice Cream
Gathering the right ingredients makes all the difference in this recipe – trust me, I’ve learned this the hard way after one too many batches with subpar results! Here’s exactly what you’ll need for that perfect corn ice cream texture and flavor:
- 2 cups fresh corn kernels – About 3-4 ears of sweet summer corn (or frozen/thawed kernels in a pinch)
- 2 cups heavy cream – Don’t skimp here – the richness matters!
- 1 cup whole milk – The higher fat content helps prevent iciness
- 3/4 cup granulated sugar – Just enough to enhance the corn’s natural sweetness
- 4 large egg yolks – Look for bright orange yolks for best flavor
- 1 tsp vanilla extract – Pure vanilla rounds out the flavors beautifully
- 1/4 tsp salt – Just a pinch to make all the flavors pop
See? Nothing too fancy – just quality ingredients that let the corn shine. I always tell my friends: if your corn tastes good raw, it’ll make amazing ice cream!
Print
Creamy Corn Ice Cream Recipe That’ll Blow Your Mind
- Total Time: 35 mins (plus chilling and freezing)
- Yield: 1 quart 1x
- Diet: Vegetarian
Description
A creamy and refreshing homemade corn ice cream with a sweet, natural corn flavor.
Ingredients
- 2 cups fresh corn kernels (or frozen, thawed)
- 2 cups heavy cream
- 1 cup whole milk
- 3/4 cup granulated sugar
- 4 large egg yolks
- 1 tsp vanilla extract
- 1/4 tsp salt
Instructions
- Blend corn kernels with milk until smooth.
- Strain the mixture through a fine-mesh sieve, pressing to extract liquid.
- Heat the corn-milk mixture with cream and half the sugar until steaming.
- Whisk egg yolks with remaining sugar, then slowly temper with the hot cream mixture.
- Return to heat and stir until slightly thickened (do not boil).
- Strain again, then stir in vanilla and salt.
- Chill completely, then churn in an ice cream maker according to manufacturer’s instructions.
- Freeze until firm before serving.
Notes
- Use fresh sweet corn for the best flavor.
- If using frozen corn, thaw and drain well.
- Chill the mixture thoroughly before churning for smoother texture.
- Store in an airtight container to prevent ice crystals.
- Prep Time: 20 mins
- Cook Time: 15 mins
- Category: Dessert
- Method: Churned
- Cuisine: American
Nutrition
- Serving Size: 1/2 cup
- Calories: 240
- Sugar: 22g
- Sodium: 85mg
- Fat: 16g
- Saturated Fat: 9g
- Unsaturated Fat: 5g
- Trans Fat: 0g
- Carbohydrates: 24g
- Fiber: 1g
- Protein: 4g
- Cholesterol: 140mg
Keywords: corn ice cream, homemade, summer dessert, sweet corn
Essential Equipment for Making Corn Ice Cream
Now, you don’t need a professional ice cream parlor setup for this recipe, but a few key tools will make your life so much easier. Here’s what I always have ready when corn ice cream is on the agenda:
- Blender – To pulverize those corn kernels into silky smoothness
- Fine-mesh sieve – For straining out every last bit of that sweet corn liquid
- Heavy-bottomed saucepan – Essential for gently cooking the custard base without scorching
- Ice cream maker – My trusty Cuisinart has churned dozens of batches (worth every penny!)
- Rubber spatula – For scraping every last drop of that precious mixture
- Airtight container – To store your frozen masterpiece without ice crystals
That’s it! With these basics, you’re just steps away from homemade corn ice cream magic.
How to Make Corn Ice Cream
Now for the fun part – turning those simple ingredients into creamy, dreamy corn ice cream! Don’t let the steps intimidate you – I’ve broken everything down so clearly, you’ll feel like an ice cream pro in no time. Here’s exactly how to work that sweet corn magic:
Step 1: Blend and Strain the Corn Mixture
First, grab your blender and toss in those beautiful corn kernels with the milk. Blend on high until it’s completely smooth – we’re talking no chunks left, about 1-2 minutes. Now, here’s a trick I learned after my first messy attempt: place your fine-mesh sieve over a large bowl and pour the mixture through. Use the back of a spoon to press all that liquid gold through – really work it to get every last drop of corn milk out. What’s left behind? Just the fibrous bits we don’t need. Trust me, this straining step makes all the difference in getting that velvety texture!
Step 2: Heat the Cream Base
Pour your corn milk into a saucepan with the cream and half the sugar. Heat it over medium until it’s just steaming – you’ll see little bubbles form around the edges. Meanwhile, whisk those egg yolks with the remaining sugar until pale and slightly thickened. Here comes the important part: slowly drizzle about 1 cup of the hot mixture into the eggs while constantly whisking (this is called tempering – it keeps the eggs from scrambling). Once combined, pour it all back into the saucepan. Now stir constantly with a wooden spoon until it thickens enough to coat the back of the spoon – about 4-5 minutes. Don’t let it boil! Remove from heat immediately when done.
Step 3: Chill and Churn the Ice Cream
Strain the mixture one more time into a clean bowl to catch any stray bits, then stir in the vanilla and salt. This next step requires patience (the hardest part!): cover and chill it completely in the fridge – at least 4 hours, but overnight is even better. Why? Cold base = creamier ice cream. When you’re ready, pour the mixture into your ice cream maker and churn according to the manufacturer’s instructions. For me, it’s usually 20-25 minutes until it looks like soft-serve. Transfer to an airtight container and freeze for at least 4 hours to firm up. Pro tip: press plastic wrap directly on the surface before sealing to prevent ice crystals!
Tips for Perfect Corn Ice Cream
After making more batches of corn ice cream than I can count (and eating even more!), I’ve picked up some foolproof tricks for getting it just right every time:
- Corn quality matters – Use the freshest, sweetest corn you can find. I taste a raw kernel first – if it’s naturally sweet, your ice cream will be too!
- Don’t rush the chill – That overnight rest in the fridge? Non-negotiable. It helps flavors meld and prevents icy texture.
- Strain twice – First after blending, then after cooking. Double straining makes all the difference in smoothness.
- Freeze fast – Store your corn ice cream in the coldest part of your freezer to minimize ice crystals.
- Label creatively – Write “Summer Gold” on the container and watch people’s curiosity turn to delight!
Follow these simple tips, and you’ll have the creamiest, dreamiest corn ice cream that’ll make you the star of every summer gathering!
Corn Ice Cream Variations
Oh, the fun we can have with this base recipe! Once you’ve mastered the classic version, try these tasty twists that’ll make your corn ice cream even more special:
- Cinnamon-kissed – Add 1/2 teaspoon ground cinnamon to the warm base for a cozy flavor that pairs beautifully with the corn
- Caramel ribbon – Layer in homemade caramel sauce as you transfer to the freezer container for sweet, gooey surprises
- Berry swirl – Fold in mashed raspberries or blackberries after churning for a fruity contrast
- Toasted coconut – Mix in 1/2 cup toasted coconut flakes for tropical flair
My personal favorite? A drizzle of honey and sprinkle of flaky sea salt right before serving – pure magic!
Serving Suggestions for Corn Ice Cream
Oh, let me tell you about the fun ways to serve this golden beauty! My absolute favorite is simply scooped into a waffle cone – the crispiness against the creamy corn is heavenly. But when I’m feeling fancy, I’ll pair it with warm blueberry pie (the combo is unreal!) or fresh peach slices for that perfect summer dessert. For a real showstopper, drizzle with honey and sprinkle with crushed graham crackers – it’s like summer camp in a bowl!
Storage and Reheating Instructions
Listen, you’ll want to keep every last spoonful of this corn ice cream as tasty as the day you made it! My foolproof method: transfer it to an airtight container, press plastic wrap directly on the surface (this stops those pesky ice crystals), and seal tight. It’ll keep its dreamy texture for about 2 weeks in the freezer. If it gets too hard? Just let it sit on the counter for 5-7 minutes before scooping—patience rewards you with perfect creaminess!
Corn Ice Cream Nutritional Information
Now, let’s talk numbers – but remember, these are just estimates since your actual corn sweetness and cream richness may vary slightly. Per half-cup serving, my corn ice cream typically has about 240 calories, 16g fat (9g saturated), and 22g sugar. It’s a treat, sure, but one packed with real corn goodness! All values can change based on your specific ingredients, so take them as a general guide rather than gospel.
Frequently Asked Questions About Corn Ice Cream
I’ve gotten so many questions about this recipe over the years – here are the ones that pop up most often (along with my tried-and-true answers!):
Can I use canned corn instead of fresh?
Oh honey, I wouldn’t recommend it – canned corn has that metallic taste and mushy texture that just doesn’t translate well to ice cream. Frozen corn works in a pinch if you thaw and drain it well, but fresh sweet corn? That’s where the magic happens!
Why does my ice cream turn out icy?
Two likely culprits: either you didn’t chill the base long enough before churning (patience is key!), or your freezer isn’t cold enough. Also – don’t skip that plastic wrap pressed directly on the surface trick I mentioned earlier!
Can I make this without an ice cream maker?
You can, but the texture won’t be as creamy. Try freezing the mixture in a shallow pan and stirring every 30 minutes as it sets. It’ll be more granita-like, but still delicious! You can find more easy homemade ice cream recipes here.
How long will corn ice cream keep in the freezer?
About 2 weeks max before it starts losing that fresh corn flavor. Though honestly? Mine never lasts that long – it disappears within days!
Share Your Corn Ice Cream Experience
I’d absolutely love to hear about your corn ice cream adventures! Did your family do a double-take when they tasted it? Find a brilliant new variation? Snap a photo of that gorgeous golden scoop – I live for those “aha!” moments when someone discovers how magical corn can be as dessert. Your stories and tips make this recipe even sweeter!